


Leverandør af elektroniske komponenter | Transformere, Induktorer, Invertere


Key takeaways
- A Buchholz relay must be replaced if it fails to operate correctly or shows signs of aging to maintain transformer protection.
- Sikkerheden er i højsædet: fully de-energize the transformer, follow lockout/tagout, and use proper PPE before starting.
- The replacement process involves isolating the transformer, draining oil, removing the old relay, installing the new one, refilling oil, and commissioning.
- Always verify the flow direction arrow on the new relay and tighten bolts to the specified torque.
- Post-replacement checks include leak testing, signal verification, and logging maintenance records.
What Is a Buchholz Relay and Why Replace It?
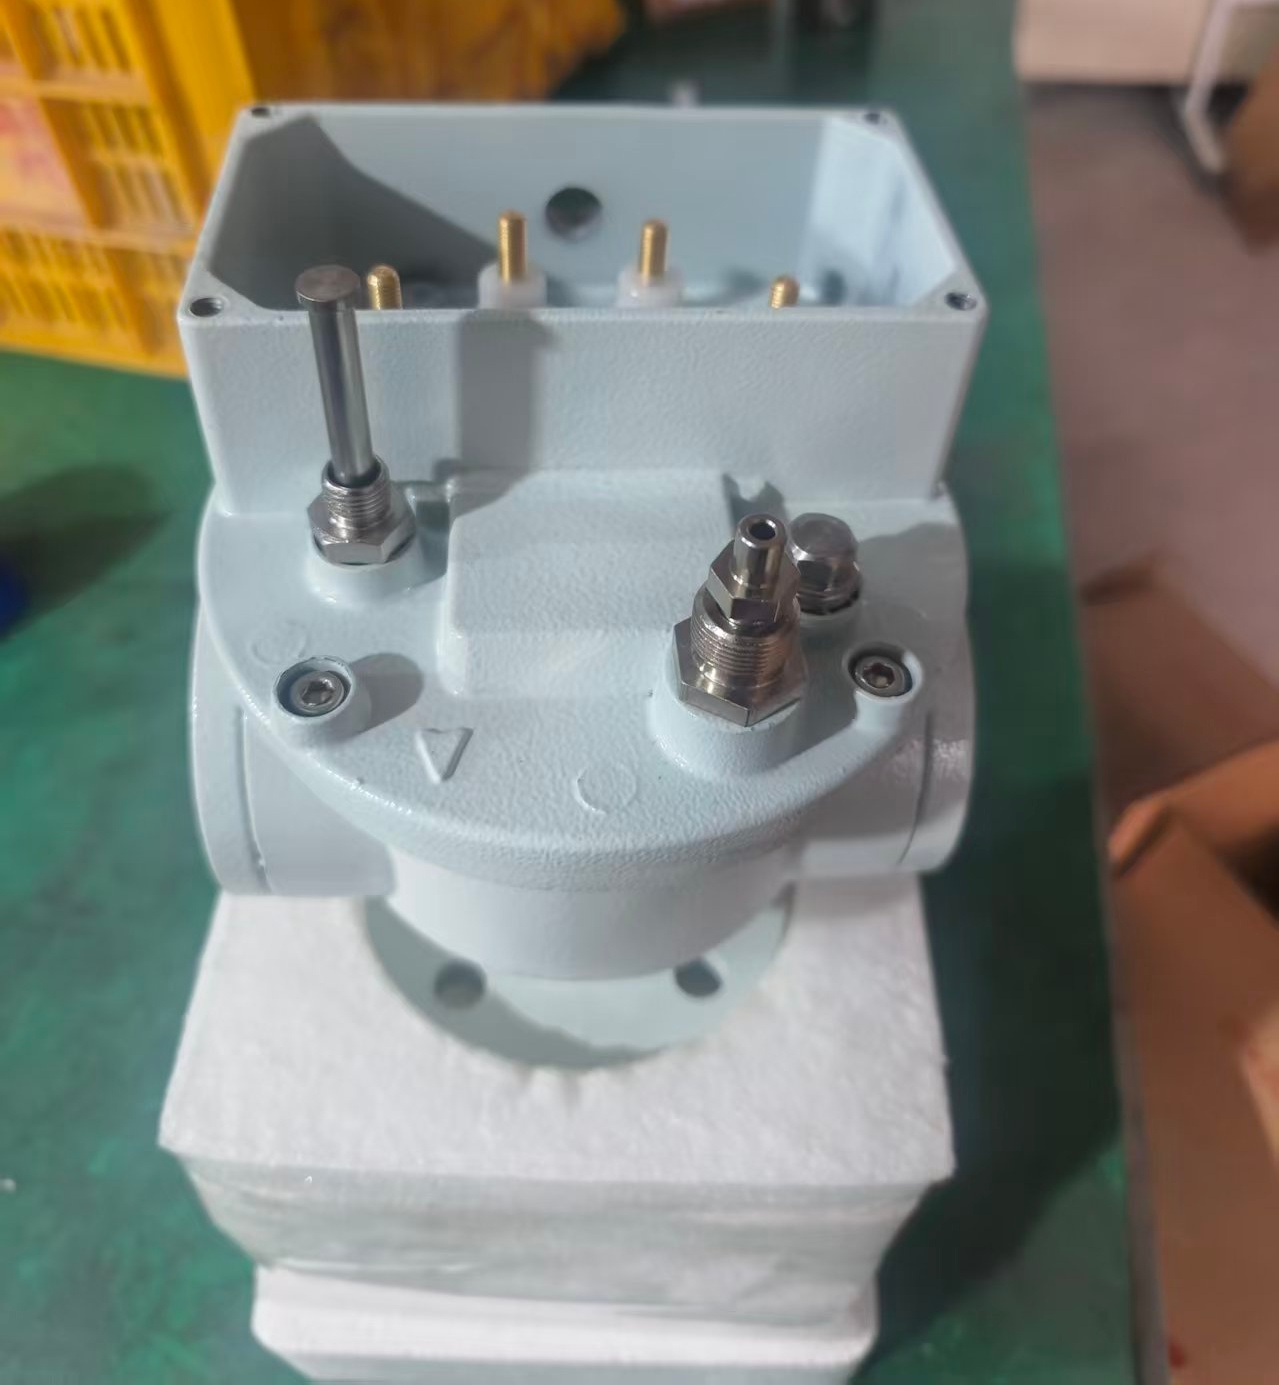
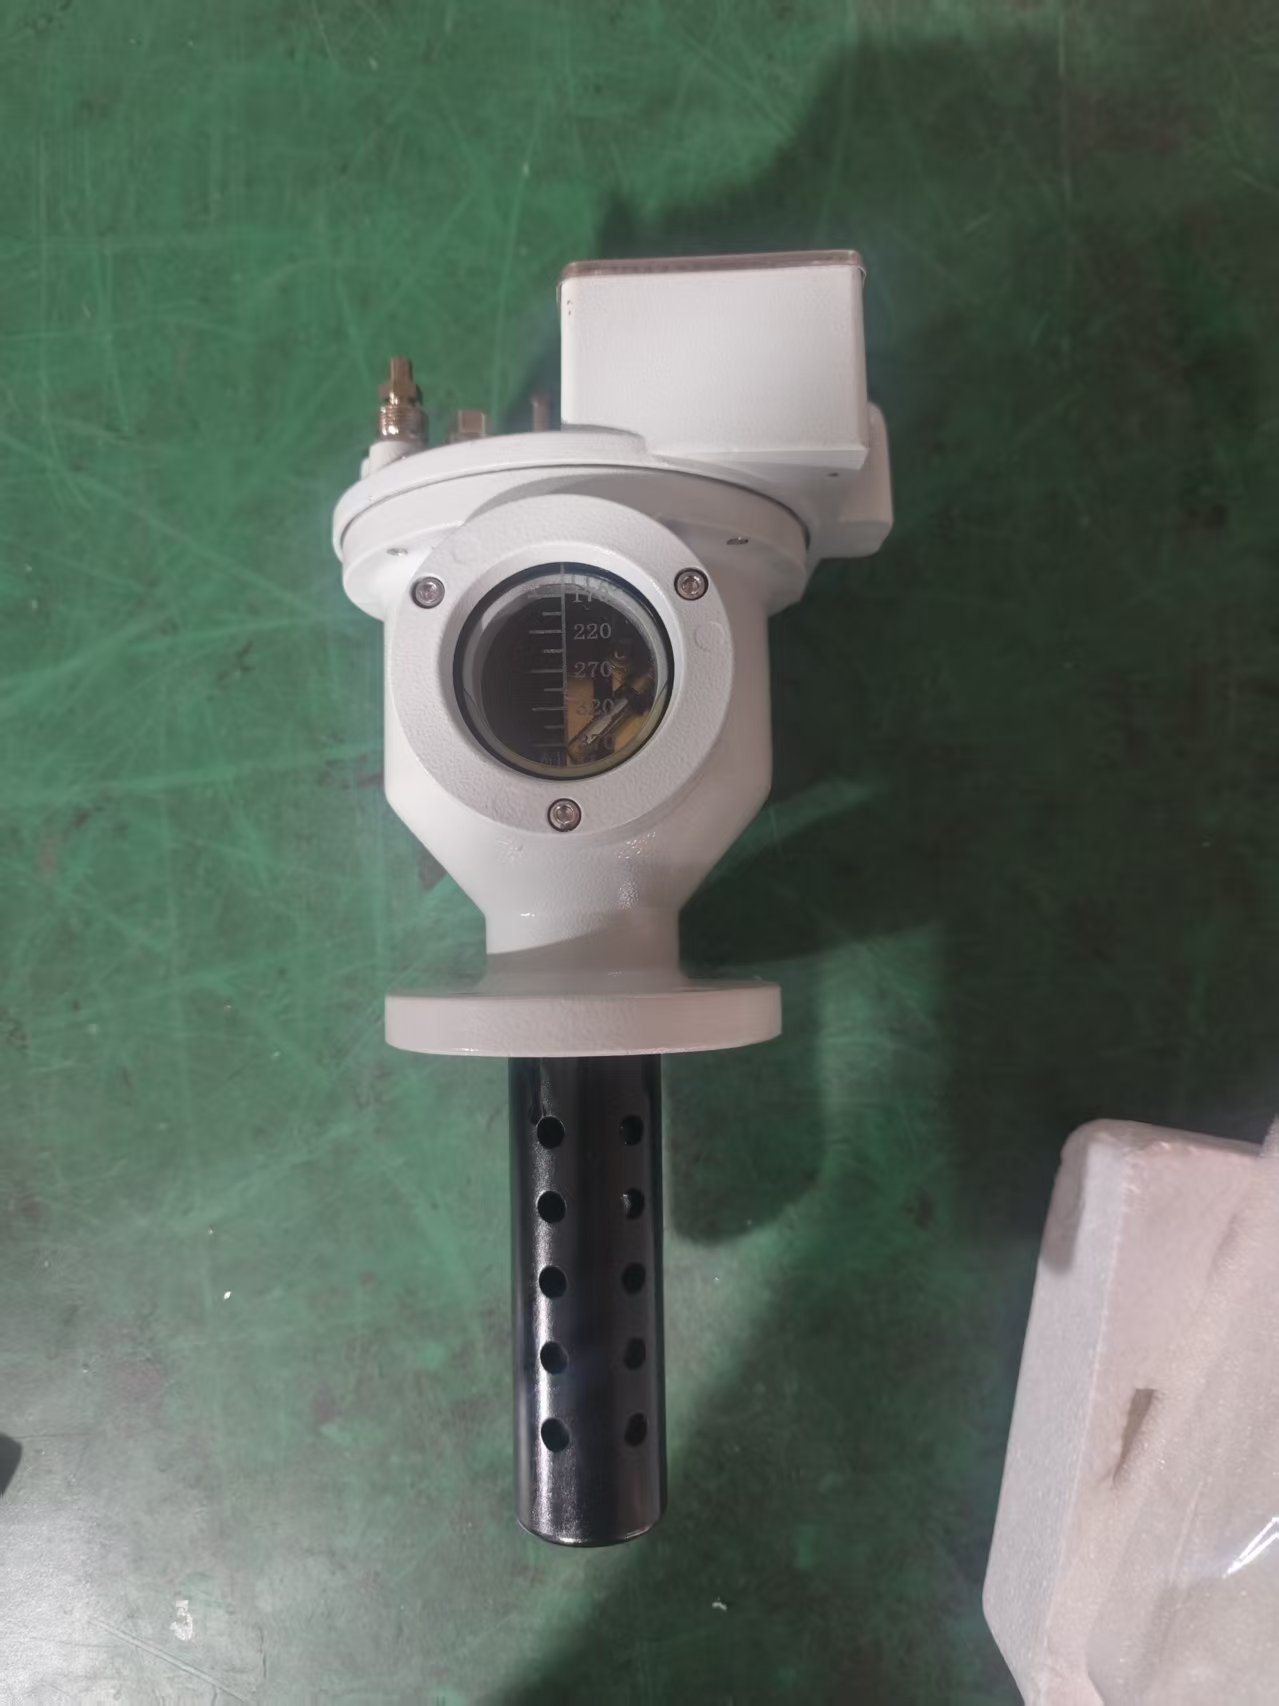
A Buchholz relay is a gas- and oil-operated protection device mounted in the pipe between the transformer tank and conservator. It detects internal faults—such as arcing, overheating, or insulation breakdown, including transformer bushing failures—by monitoring gas accumulation or sudden oil surge. Over tid, thermal cycling, korrosion, or contamination can degrade its internal components, causing false alarms or failure to operate. Replacing a faulty or aged Buchholz relay is essential to maintain reliable transformer protection and prevent catastrophic failures.
Safety Precautions Before Starting
Ensure the transformer is completely de-energized and isolated from all power sources. Verify zero voltage using a suitable tester and lock out the supply per facility lockout/tagout procedures. The transformer oil may be hot and under pressure, so allow it to cool to ambient temperature. Wear appropriate personal protective equipment, including insulated gloves, safety glasses, and flame-resistant clothing. Work in a well-ventilated area and have a spill containment kit ready in case of oil leakage.
Tools and Materials Required
Common tools include wrenches, sockets, a drain valve key or adapter, a torque wrench, a clean oil container, a funnel, and a vacuum oil filter or degassing unit if available. Materials needed are a replacement Buchholz relay of the correct rating and flange size, new gaskets or O-rings, transformer oil for topping up, and a gas-collection test kit for commissioning. Ensure the replacement relay matches the original in pipe diameter, spændingsmærke, contact configuration, and alarm/trip settings, and for guidance on selecting the right Buchholz relay, consult our dedicated article.
Step 1: Isolate the Transformer and Depressurize
Close all valves between the transformer tank and conservator, especially the main isolation valve on the pipe where the relay is mounted. If the transformer has a nitrogen blanket or pressure maintenance system, slowly release the pressure via the designated vent. Monitor the oil level gauge to confirm isolation of the conservator side. This prevents oil outflow during relay removal and reduces the risk of air ingress into the main tank.
Step 2: Drain Oil to Below the Relay Level
Connect a drain hose to the drain valve located below the relay or on the transformer tank. Drain oil into a clean container until the level is at least 10 cm below the relay flange. Verify with a sight glass or dipstick. If the transformer has a conservator, drain some oil from it as well to equalize pressure. Collect the drained oil for reuse or disposal per environmental regulations.
Step 3: Remove the Old Buchholz Relay
Disconnect the electrical wiring from the relay terminals, noting the connection points for reinstallation. Loosen the flange bolts gradually in a cross pattern to avoid warping the flange. Remove the relay carefully, being mindful of any remaining oil in the relay chamber. Inspect the flanges and pipe for damage, korrosion, or debris. Clean the mating surfaces with a lint-free cloth and ensure the new gasket or O-ring is properly seated. Discard the old relay per local waste management guidelines.
Step 4: Install the New Relay
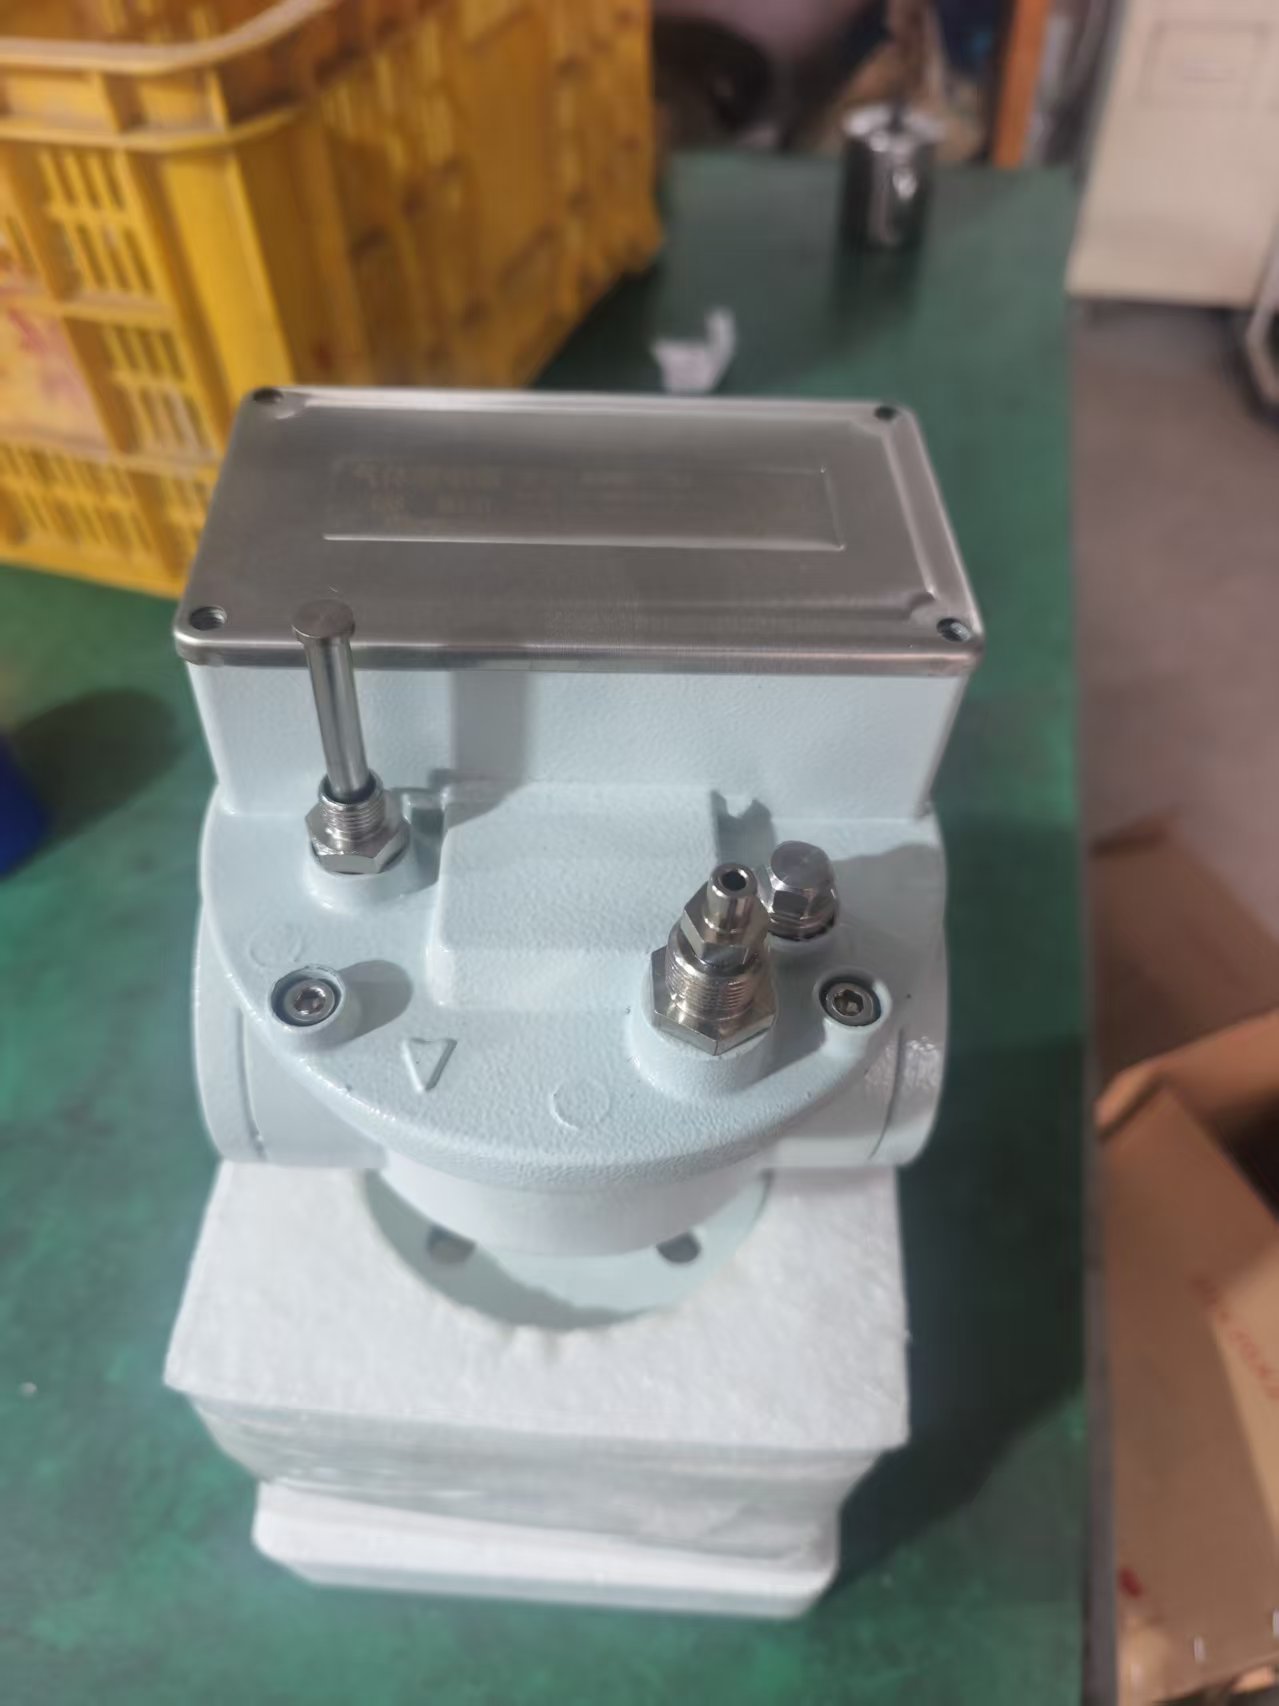
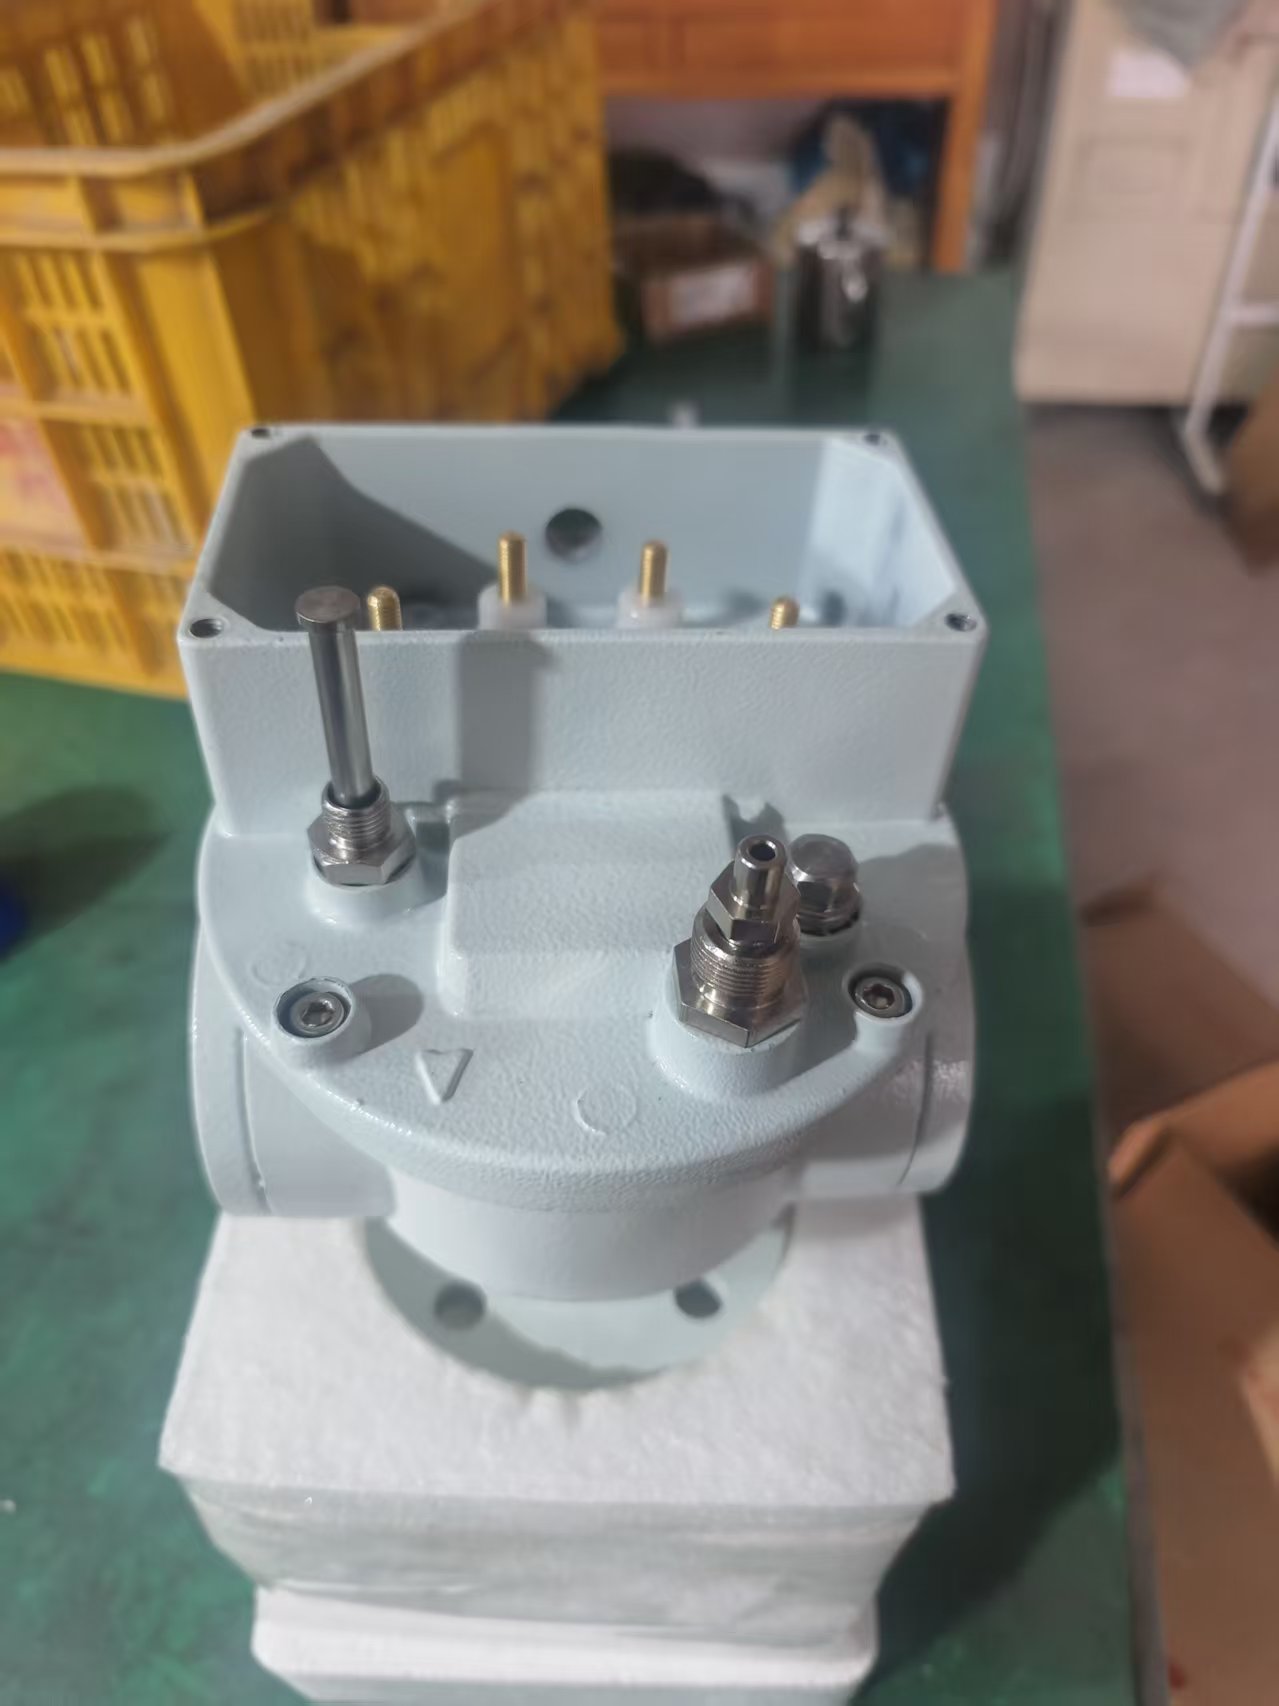
Place the new relay on the flange, ensuring the arrow on the relay body points in the direction of oil flow from the transformer to the conservator. Insert the flange bolts and tighten them in a cross pattern to the manufacturer's specified torque. Reconnect the electrical wiring exactly as recorded, verifying that the alarm and trip circuits are correctly wired. If possible, manually check the relay's float and flag mechanism following the manufacturer's test procedure.
Step 5: Refill Oil, Bleed Air, and Commission
Slowly refill the transformer with the previously drained or new oil until the level reaches the normal operating mark. Open the vent valve on the relay to allow trapped air to escape. Once oil flows steadily from the vent, close it and top up the conservator to the correct level. Reconnect the transformer to the system and energize it. Monitor the relay for any gas accumulation over the first 24 timer. If permitted by the manufacturer, perform a functional test by simulating a gas pocket using an air pump or test device.
Post-Replacement Checks and Maintenance
After energizing, check for oil leaks at all flanges and valves. Verify that the relay's alarm and trip signals are correctly received by the protection system; for a comparison of Buchholz relay vs pressure relief, see our guide. Record the relay model, serial number, installation date, and any test results in the transformer maintenance log. Schedule periodic inspections every six months, including visual checks of oil level, gas accumulation, and mechanical operation. Replace the relay again if it shows signs of corrosion, sticking, or erratic behavior.
Frequently asked questions
Can I replace a Buchholz relay while the transformer is energized?
Ingen. The transformer must be completely de-energized and isolated before any work on the Buchholz relay. Working on an energized transformer poses severe electrical shock and arc flash hazards.
How often should a Buchholz relay be replaced?
There is no fixed replacement interval, but the relay should be inspected every six months. Replace it if the float mechanism sticks, contacts fail, or there is visible corrosion or oil leakage. Some manufacturers recommend replacement every 10–15 years.
What should I do if the new relay trips immediately after energizing?
Immediately de-energize the transformer and check for trapped air in the relay. Bleed the air via the vent valve. If the trip persists, inspect for actual internal faults or wiring errors. Consult the manufacturer's troubleshooting guide.
Luoyang Datang Energy Technology Co., Ltd. er en højteknologisk virksomhed, der integrerer R&D, fremstilling og levering af strømudstyr såsom transformere, nye energikomponenter, distributionsskabe og invertere. Med teknologisk innovation som kernen, vi fokuserer på at skabe høj pålidelighed og højtydende strømløsninger til at betjene globale kunder. Med et strengt kvalitetskontrolsystem og international standard certificering, vi fortsætter med at producere fremragende produkter og gør det muligt for kunderne at bygge sikre og stabile strømsystemer.
RELATEREDE OPSLAG

Global energilagringsefterspørgsel eksploderer i 2025: hvorfor er nu det bedste tidspunkt for layout?
Høj effektivitet og smarte transformere til EV-ladestationer

New breakthroughs in the application field of high-voltage epoxy resin pillar insulators
Dist Transformer, DTR Transformer, and the Future of Energy Distribution: A Revolution Powered by AI
How does the single-phase thyristor phase control driver realize power control?
